
Sanding a ceiling is harder than sanding a wall because the tool stays above your head for much of the job. A good setup needs enough power to remove joint compounds without making the surface difficult to control. It also needs enough reach to cover the ceiling while keeping your feet on the floor. Dust collection matters just as much because drywall dust can spread across the entire room.
Choosing the right tool becomes easier when you look beyond motor power alone. Reach, head movement, speed control, weight, sanding discs, and vacuum connections all affect how the tool performs. The best choice depends on whether you are smoothing fresh joint compound, preparing an older ceiling, or removing a textured surface. This guide breaks down the main features worth checking before you buy.
Start With the Type of Ceiling Work
Not every sanding job needs the same tool. Small repairs may be handled with a manual sanding block or compact power sander, while an entire ceiling benefits from a long handled powered model. Larger sanding heads can cover more surface with each pass, which can help when working across broad areas. However, a larger head can feel less convenient around corners, edges, and smaller repairs.
A dedicated ceiling sander is most useful when you need consistent sanding across a large overhead area. If your work includes both walls and ceilings, look for a model with an adjustable pole and a head that can stay flat against different surfaces. Some designs also offer interchangeable or flexible heads for areas that are difficult to reach with a standard round pad.
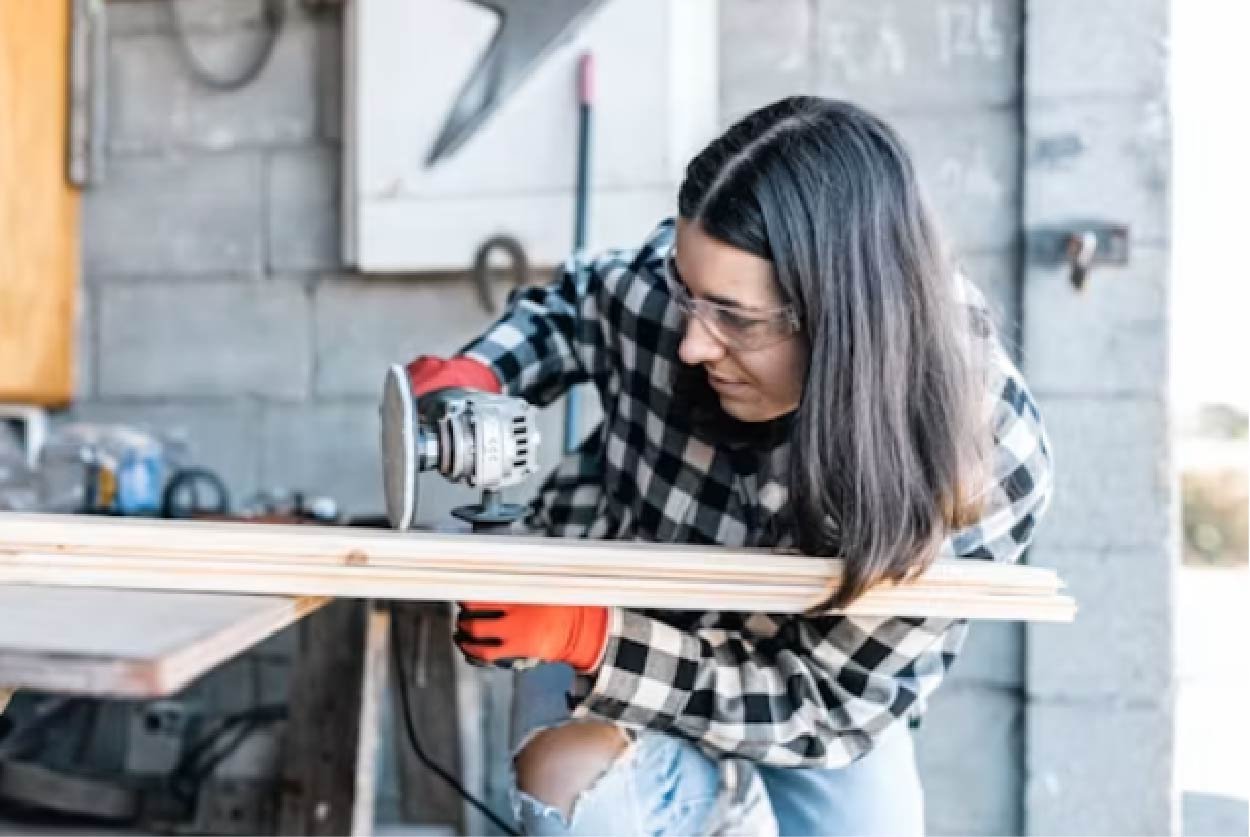
Check Motor Power and Speed Control
Motor power affects how easily the tool removes joint compound, texture, and other surface material. More power can be useful for heavy work, but maximum power is not always the most important feature for finishing drywall. Too much sanding force or speed can remove material faster than expected and make it easier to damage the paper surface. A useful tool should give you enough control to match the sanding action to the job.
Variable speed is especially helpful when moving between rough and fine work. A lower setting can provide better control during finishing, while a higher setting can help with heavier material removal. Current drywall sander guides commonly treat adjustable speed as an important buying factor because different surfaces need different levels of sanding action.
Choose Enough Reach for the Ceiling
Reach is one of the first features to check when buying a ceiling sander. A telescoping handle can let you work on standard ceilings without constantly stretching, climbing, or repositioning a ladder. It also helps when sanding tall walls and other elevated surfaces. The useful length is not simply the longest extension available, though.
A pole that becomes difficult to control at full extension can create more problems than it solves. Look for a handle that locks securely and feels stable when extended. Some professional designs use extension sections that improve balance, while other models place more weight near the sanding head. The overall balance matters because even a manageable tool can become tiring during prolonged overhead work.
Pay Attention to Weight and Balance
Weight becomes much more important when sanding a ceiling than when working at waist level. Holding a tool overhead puts continuous stress on your shoulders, arms, and neck. A lighter tool can help, but the number on the specification sheet does not tell the whole story. Where the motor and other components are positioned can make one tool feel much heavier than another.
Before choosing a model, consider how the tool will feel with the pole fully extended. A well balanced design should stay manageable without requiring constant pressure from your arms. A secondary handle, shoulder strap, or comfortable grip can also make a noticeable difference during larger projects. Ergonomics should be treated as a performance feature, not just a comfort detail.
Look Closely at Dust Collection
Drywall sanding produces very fine dust that can quickly settle on floors, furniture, tools, and nearby surfaces. Overhead sanding makes dust control even more important because loose material can fall directly around the operator. A drywall sander with dust collection can capture much of the material at the sanding head instead of allowing it to spread through the room.
There are several collection designs to consider. Some tools use an integrated collection system, while others connect through a hose to a shop vacuum or dedicated dust extractor. Hose connected systems can provide strong extraction when the vacuum, hose, adapter, and sander work together properly. A secure connection is important because gaps can allow dust to escape even when the sanding head itself has a good collection design.
Match the Sander With the Vacuum
A good drywall sander with dust collection still depends on the rest of the extraction setup. Check the tool’s dust port size and make sure it matches the hose or adapter you plan to use. A loose connection can reduce collection performance and leave more dust in the room. The vacuum filter and collection container also need attention because clogged filters can reduce airflow.
For larger projects, consider how long the hose needs to be without becoming difficult to manage. An excessively long or poorly routed hose can pull against the sander and make overhead work harder. On the other hand, a hose that is too short can force you to move the vacuum constantly. The goal is a setup that maintains useful suction without interfering with movement.
Select the Right Sanding Head
The sanding head determines how easily you can keep the abrasive against the surface. A head that can move or pivot helps maintain contact when the pole angle changes. This is useful on ceilings because the operator is rarely holding the tool from exactly the same position throughout the room. A flexible head can also make it easier to maintain an even finish.
Head size is another consideration. Larger circular pads can cover more area quickly, while smaller or alternative shapes may be easier to control around edges and tight areas. Some models use interchangeable heads for different sanding tasks. That flexibility can be useful if one tool needs to handle broad ceilings as well as corners and smaller sections.
Use the Right Abrasive for the Surface
The sanding disc is just as important as the machine holding it. Coarse abrasive can remove material quickly, but it can also leave marks or cut too deeply into a soft surface. Finer abrasive is better suited to smoothing and final preparation. Starting with an unnecessarily aggressive grit can create more repair work later.
A practical approach is to begin with a suitable medium grit when only light leveling is needed and move finer as the surface improves. For heavier buildup, start with a coarser disc and switch once the high spots are under control. Hook and loop discs are common because they can be changed quickly, but always check the tool’s supported disc size and attachment system.
Avoid Common Ceiling Sanding Mistakes
One common mistake is pressing the sanding head too hard against the ceiling. Extra pressure does not always improve sanding and can make the tool harder to control. Let the abrasive and motor do the work while you guide the head across the surface. Keep the tool moving instead of holding it in one place for too long.
Another mistake is using maximum speed for every stage. Fast sanding can remove material quickly, but finishing requires a lighter touch and careful movement. Work in manageable sections and check the surface often. Good lighting can also reveal ridges, low spots, and sanding marks that may be difficult to see under ordinary room lighting.
Consider Storage and Maintenance
A ceiling sander should be easy to store when the project is finished. Telescoping or foldable handles can reduce the space needed for storage and transport. Check how easily the pole locks and releases because a complicated adjustment system can become frustrating with repeated use. If the tool comes with several sections or accessories, make sure they can be stored without damage.
Maintenance is also important for long term use. Clean the sanding head and dust passages after each project, and inspect the hose connection for cracks or loose fittings. Check filters regularly and replace worn sanding discs rather than continuing with an abrasive that no longer cuts evenly. Keeping the extraction path clear can help the tool maintain consistent performance.
How to Choose Based on Your Project
For occasional patch repairs, a compact and simple sander may be all you need. For an entire room, prioritize comfortable reach, manageable weight, variable speed, and reliable dust extraction. If you regularly prepare large ceilings or walls, look for a design built around consistent balance and a dependable vacuum connection. The right combination can reduce both sanding effort and cleanup.
For textured ceilings or heavier material, motor power and extraction become more important. For fresh drywall finishing, control and surface quality usually matter more than maximum removal speed. If your work covers several surface types, choose a versatile model with adjustable speed, a flexible head, and a practical extension system. Matching the tool to the work is more useful than simply choosing the most powerful option.
FAQs
What is a ceiling sander used for?
A ceiling sander is designed to smooth joint compound, drywall surfaces, texture, and other overhead materials while reducing the effort required for manual sanding.
Is dust collection important for ceiling sanding?
Yes. Dust collection captures sanding debris near the work area and can greatly reduce the amount of airborne and settled dust during the project.
Do I need a vacuum with a drywall sander?
It depends on the model. Some tools have their own collection setup, while others are designed to connect to a shop vacuum or dedicated dust extractor.
What speed should I use for drywall sanding?
Use a lower speed when you need greater control during finishing and increase it when more material needs to be removed. Always test the setting on a small area first.
How much reach should a ceiling sander have?
Choose enough extension to reach your ceiling comfortably while keeping your feet stable on the floor. The best length depends on ceiling height and the operator’s height.